Daz To Unreal – Environment Transfer
I’ve added a new Asset Type to the Daz to Unreal Dialog, Environment
To Transfer an Environment, first I recommend making a new Level in Unreal Editor to receive the Environment. I recommend doing this by saving your current level then using File -> New Level… and choosing Default. Then select the floor and delete it.
Now in Daz Studio select the top level node for the environment
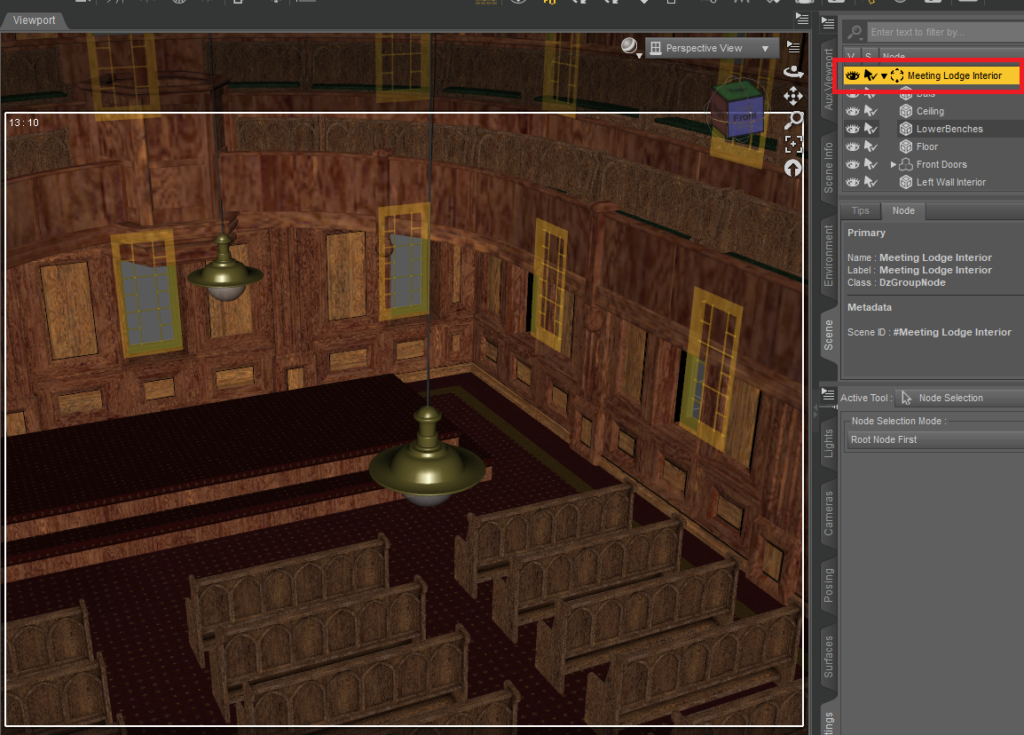
If there isn’t a top level node, you can create one. Select the assets in your environment and choose Create -> New Group to group the objects. You can then select your new Group Node for transfer.
Next start the transfer by using File -> Send To -> Daz To Unreal
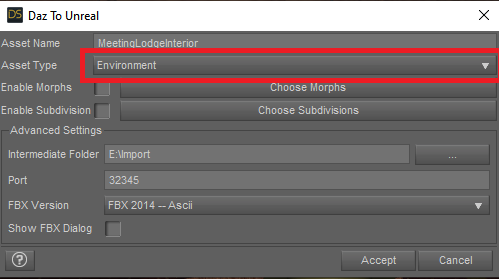
Select Environment as the Asset Type and hit Accept.
You’ll see a lot of transfers start popping up and some things moving around in your scene. What’s happening is the plugin is finding all the different types of props used in your scene. For each type of prop it finds it will move one of them to the center then export it as a Skeletal Mesh or Static Mesh as appropriate. These will each get imported individually into Unreal as their own assets.
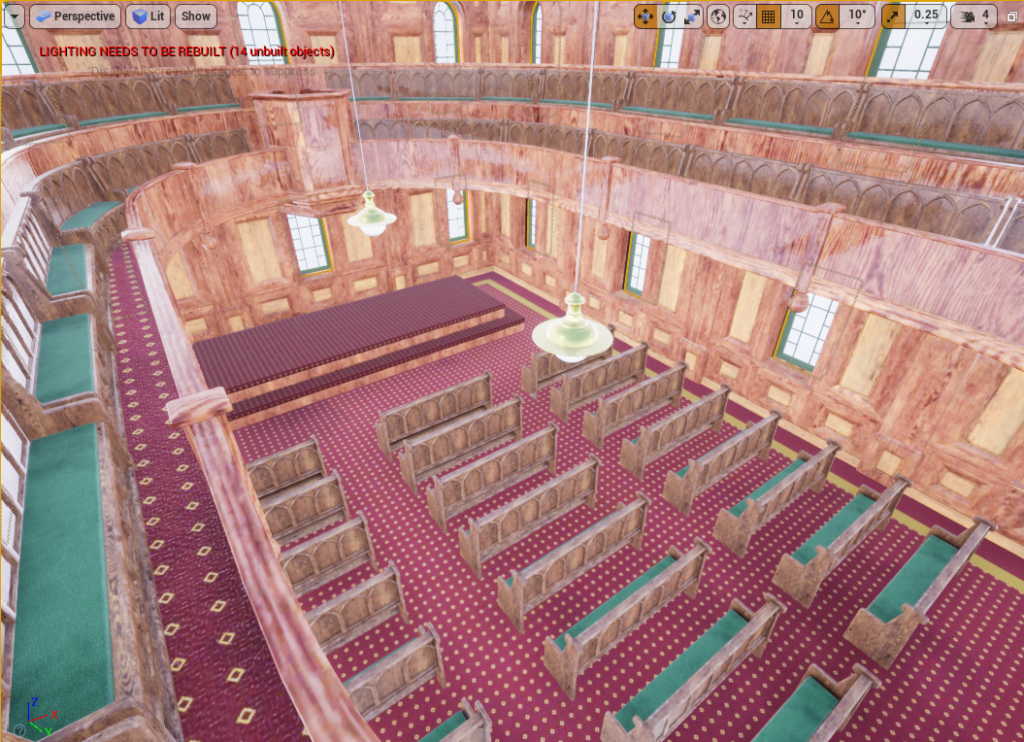
After this is done, a list of props and their transforms (location, rotation, scale) well be sent to the Unreal Editor. The plugin will spawn all of these into the current level. After it’s done, you should see your environment in Unreal.
Additional Options \ Fixes
If your environment is using bones or skeletal meshes and isn’t coming out right, you can try turning on Frame Zero is Reference Pose in Edit -> Project Settings -> Dto To Unreal Settings.
If you want to contain all the pieces of the environment in a new folder, you can change Daz To Unreal’s import folder before doing the transfer. Remember to change it back afterwards. This setting is at Edit -> Project Settings -> Daz To Unreal Settings -> Import Directory.
Recent Comments