Daz To Unreal – Hiding Figure Geometry
Sometimes you want to hide part of a figure so it’s geometry won’t poke through or because a geograft is replacing that portion. Here’s how to do it with version 3 of Daz to Unreal.
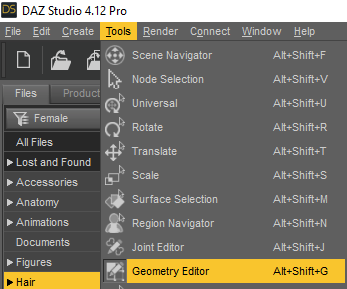
First, you need to be in the Geometry Editor.
Make sure you’ve selected the figure or clothing that has the geometry you want to hide.
Right-click on the figure and set Selection Type to Polygon Selection.

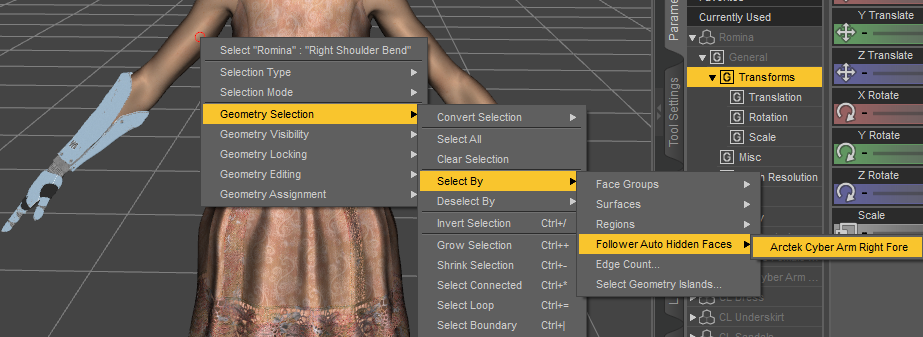
Next we need to select the geometry to hide. If this is a geograft, right click on the figure and choose Geometry Selection -> Select By -> Follower Auto Hidden Faces -> The Geograft. In this case its a cyber arm.
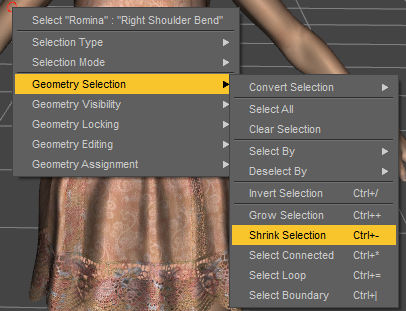
If you end up with a gap after transfer, you may need to shrink the selection so there’s an extra polygon left to blend with.
If this isn’t a geograft, choose one of the selection tools and select the geometry you want to hide.
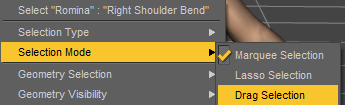
For my example, I’m using Marquee Selection and dragging a box over the dress to hide the body underneath.
Now under Tool Settings scroll down to Surface and right-click. Choose Create Surface from Selected…

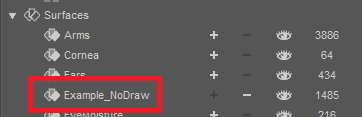
Give the surface a name that ends with _NoDraw. In version 3 and later, this will automatically give this surface the NoDrawMaterial. In earlier versions you’ll need to create a material and assign it.
Now you can transfer your character and those surfaces should be hidden.
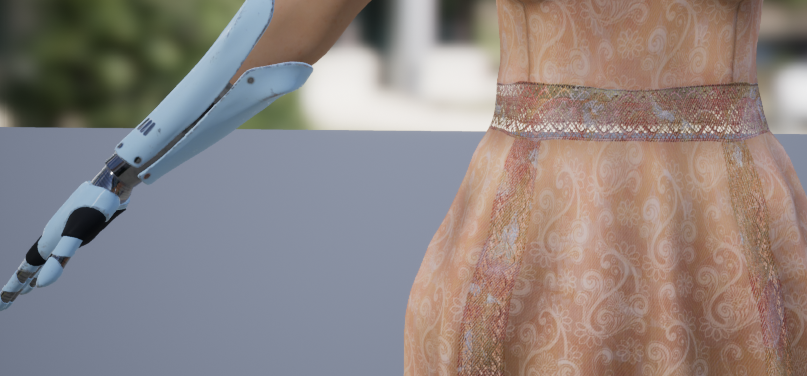
I hid a good portion of the torso not realizing there was a see through lace portion of the dress, but that shows the process worked.
Recent Comments