Daz To Unreal: Adjusting Hair Transparency
One of the problems with converting assets from Daz Studio to Unreal Engine is that the materials are made in different ways by many different authors. I’ve done a lot of work to try to make these look proper when they transfer to Unreal, but sometimes there’s going to be a miss. Hair transparency in particular is tricky. I’ve chosen a default value that I felt worked in the most cases, but there’s a simple way to adjust it when it doesn’t turn out.
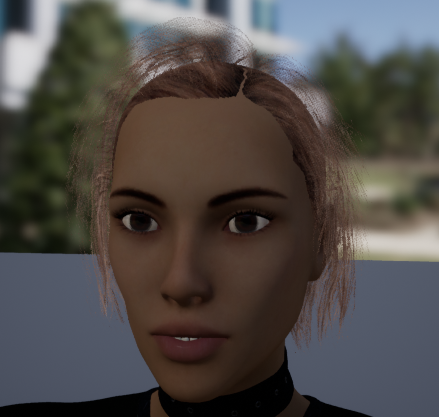
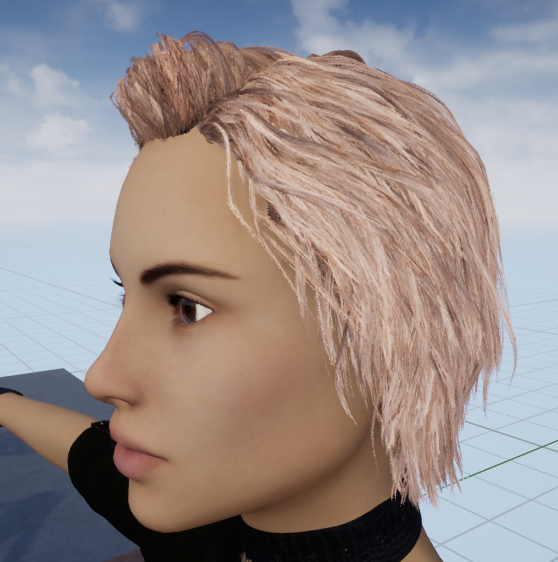
Here’s an example that turned out pretty bad on transfer:
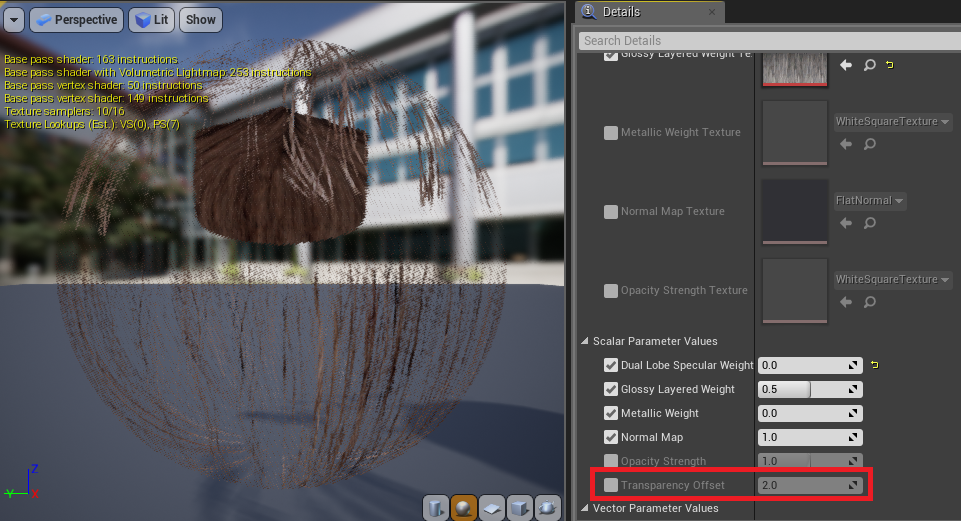
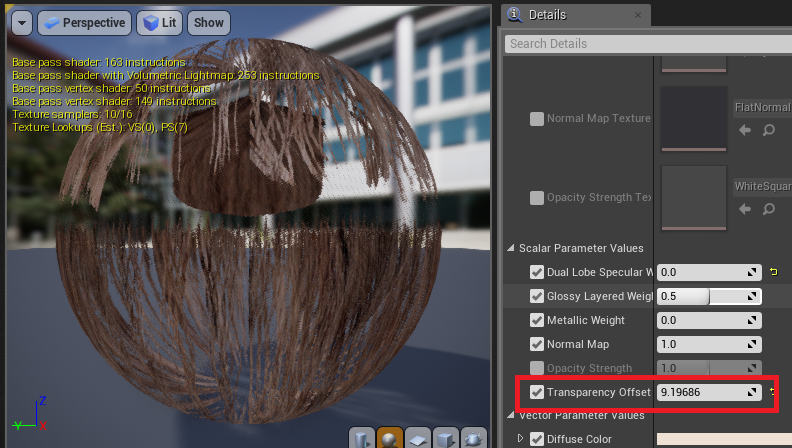
If you look in the Materials folder for the character, you should be able to find the hair materials. For this character there were two hair materials. Open each of them and under Scalar Parameter Values check the box next to Transparency Offset and adjust the value until you like the look.
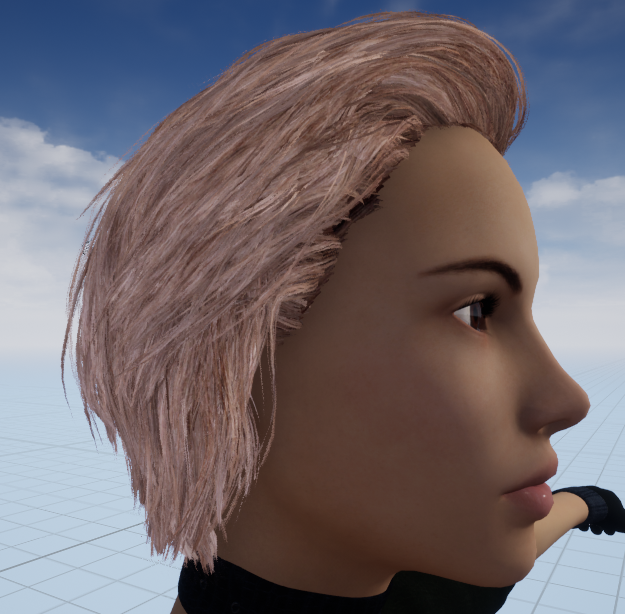
Hit Save and the character should look better.
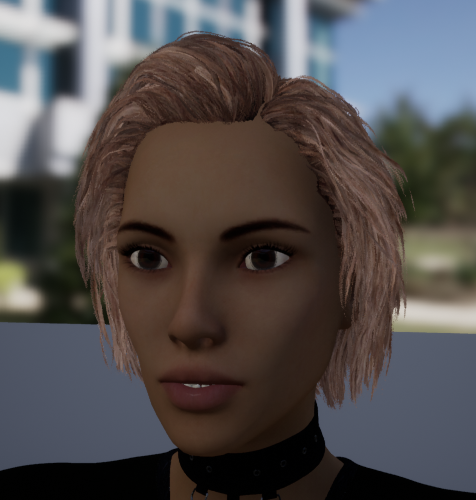
Here’s a couple shots with some simple lighting.
Recent Comments