Daz To Unreal – Exporting Clothing or Hair Separate from the Figure
The instructions here are for version 3, which will release for UE4.25. If you bought the plugin and want this version for 4.24 now, join the Discord and send me a message.
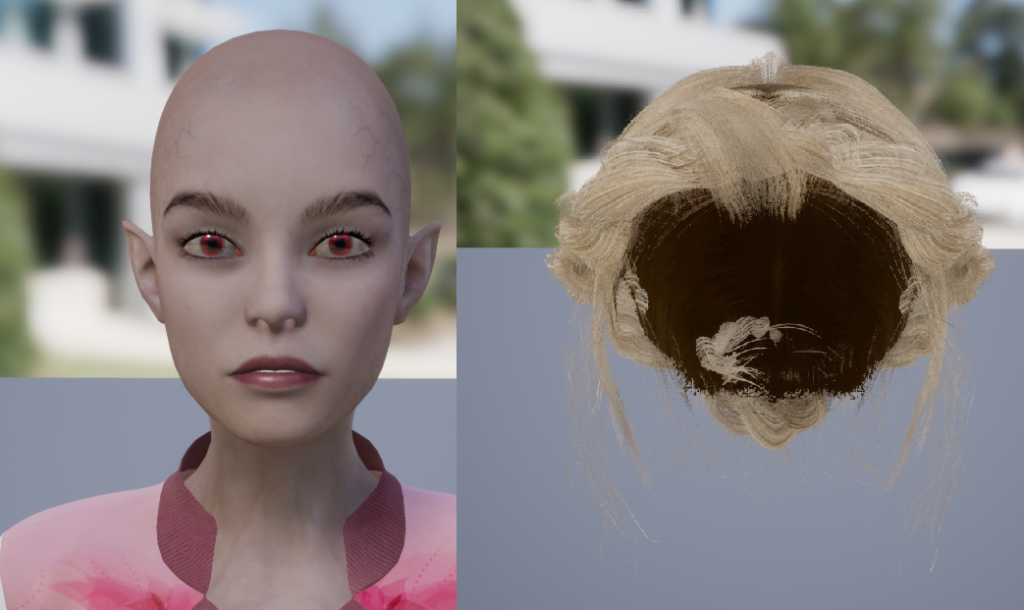
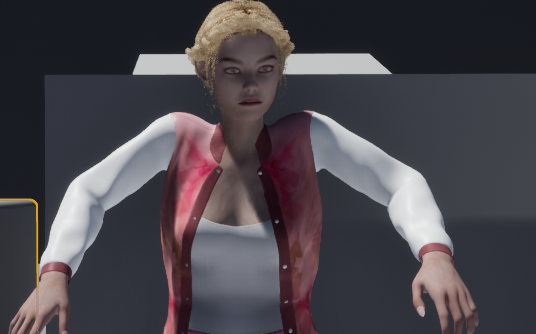
Sometimes you want to be able to swap hair or outfits at runtime. Here are the steps to set that up. I’m going to use hair as an example, but the process is the same for clothing.
First, transfer your character without the swap-able part. In this case, no hair.
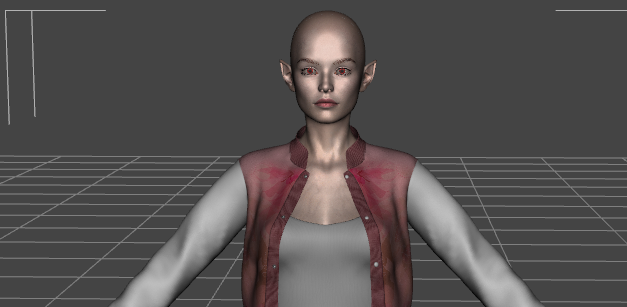
Next, add the hair or clothing. Make sure it’s attached to the character. It will get it’s shape, morphs, and skeleton from the character.
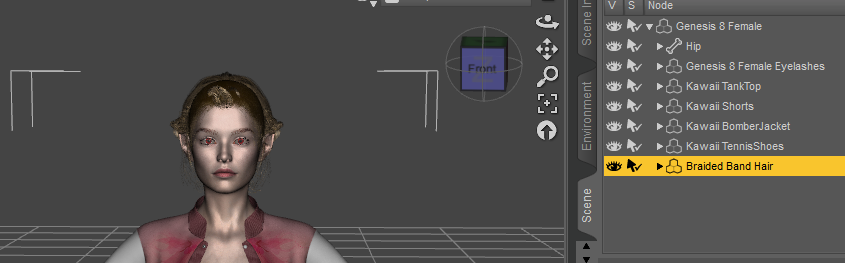
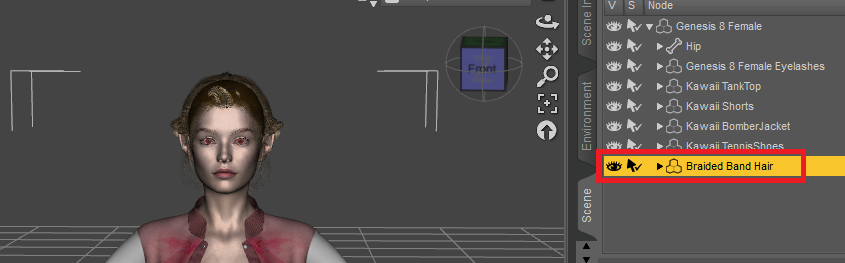
Next transfer the hair by selecting it and using Edit->Send to Unreal again. Make sure you have the hair or clothing selected, not the character and also make sure you give it a different name.
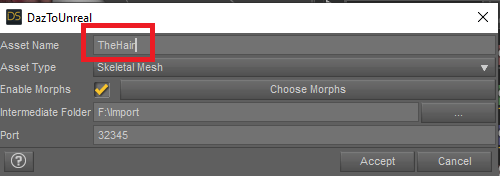
I recommend using the same morph settings you used for the original figure to start
You should now have two different character in Unreal, one without the hair or clothing piece, and one that is just the clothing piece. Both should have the full skeleton and accept animations.
Next you need to connect the two. This will be a very simple example.
Create a new Blueprint Actor. Do this by right-clicking in the Content Browser and choosing Create Basic Asset -> Blueprint Class. Then click the Actor button.

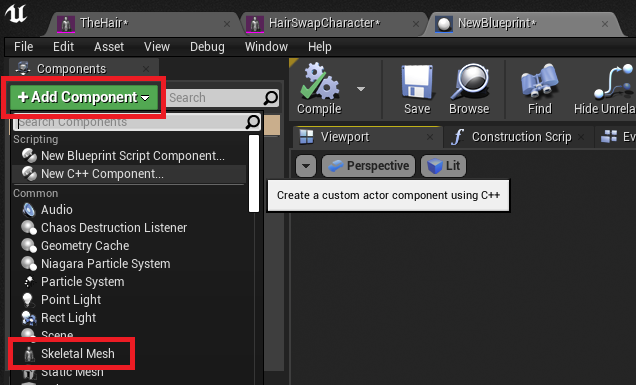
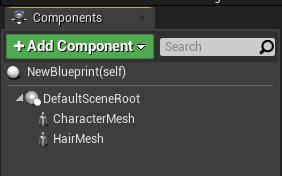
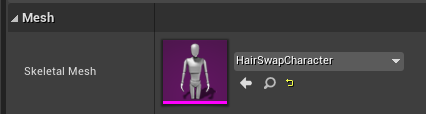
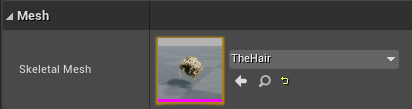
Open the new Blueprint and give it two Skeletal Mesh Components
Put them parallel to each other, not parented to each other.
Next select each and assign them the matching Skeletal Mesh
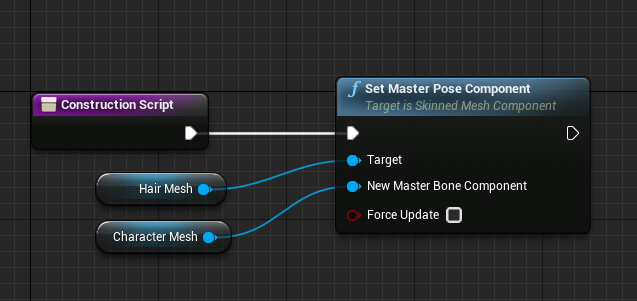
In the Construction Script tab, make a graph that looks like this. Setting this up under Begin Play doesn’t work, make sure it’s connected to Construction Script.
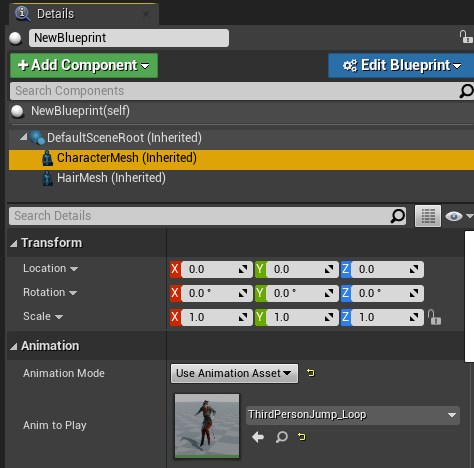
Hit the Compile and Save buttons, place the character in a level and assign an animation to the Character Mesh component. You’ll see the hair or clothing follows the character.
Recent Comments