Daz To Unreal – Dealing with Heels
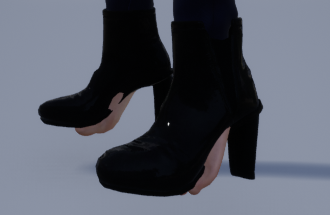
Heeled shoes are a special kind of problem. You may import a character and see feet that look like this.
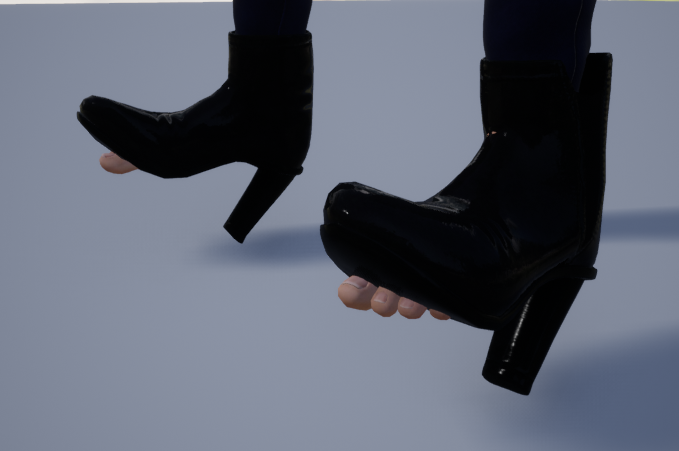
There’s two possible problems here. The first is that you probably want to just hide or delete the foot geometry. I’ll handle that in a different tutorial. The second is the angle of the shoes looks wrong.
You’re first inclination may be that you just want the foot rotated a bit to straighten them, and this may be correct for your situation. There’s a couple problems with this. The offset will be in ALL your animations. Also, walking in heels looks different than just walking with your ankle pointed down. You probably want to use animations with the heel built into them.
This isn’t a once size fits all type of solution, and making this work correctly is most likely part of your animation system. I’m going to show two tools for helping with this.
Baking the Heel Rotation into the Model
The first option is to just make the heels looks right when you import the model. To do this you need to adjust the model in Daz Studio.
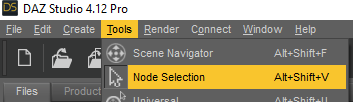
First make sure your in the Node Selection Tool.
Next select each of the ankels in Daz Studio. You’ll see they have a bend on them.
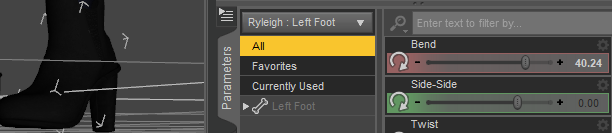
Set the bend on each ankle to 0.
Next adjust the shoe to look correct using either the Healed Shoe or Tip Toes poses.
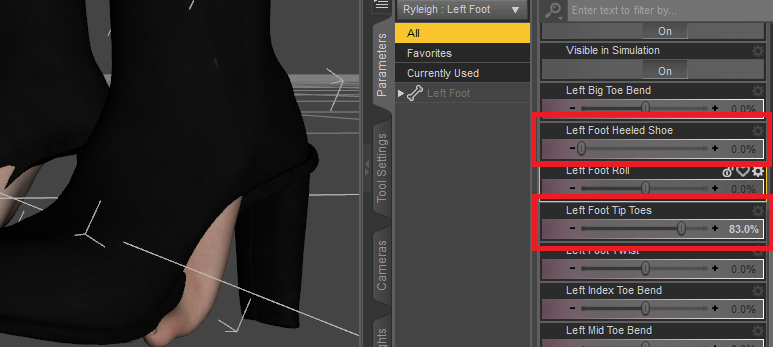
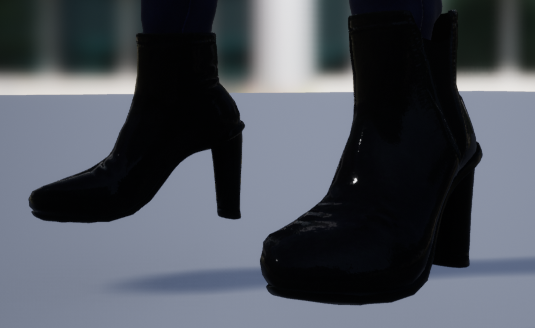
Now when you export the character, the shoes will be in the right position.
Using an Animation
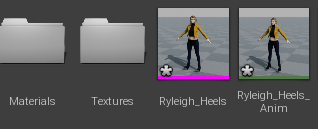
Starting with version 3 of the plugin (it’s not out yet, waiting for UE4.25 to release) an animation should be imported with your character. It will be next to the skeletal mesh. This animation will have the current animation or pose that’s on the character when you transfer it. Since the character was posed with the heels in the correct location, the animation will have heels that look correct.
By making this animation additive, or converting it into a pose, you’ll have a base for adjusting for the heels in your animation system.
Recent Comments