This is my process for setting up a Daz character with a HumanIK rig in Maya. I generally export one or two base characters to animate, then use retargeting in Unreal to share those animations with other characters. These instructions assume you’re using a Genesis 8 or 8.1 character.
Exporting from Unreal
First I export the character from Unreal. The reason I do this is because I do my actual work in Unreal and the Daz To Unreal plugin makes some changes to the skeleton. I want the figure in Maya to match what I have in Unreal.
Right Click the Skeletal Mesh in Unreal and choose Asset Actions -> Export
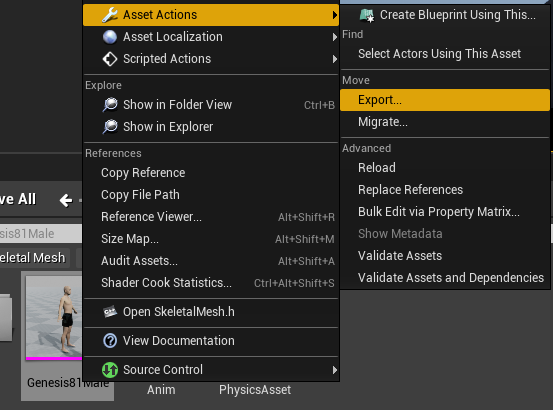
A dialog will pop up asking where to export, choose the location and name the file.
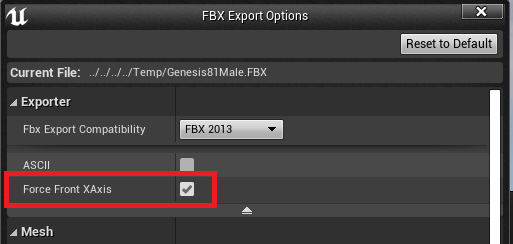
Next an options dialog will come up. The most important one is Force Front XAxis. Whether or not you want this checked will depend on the Daz To Unreal rotation import options that were used. If the character comes in sideways in Maya and HumanIK says it’s rotated the wrong way, export again changing this option.
Importing the Character to Maya
Just go to File -> Import and import the FBX you just exported.
I also delete the face rig at this point because I don’t use Maya for facial animation, so the bones just become a bunch of extra data that’s not needed. If you want to do this select the lowerFaceRig in Outliner
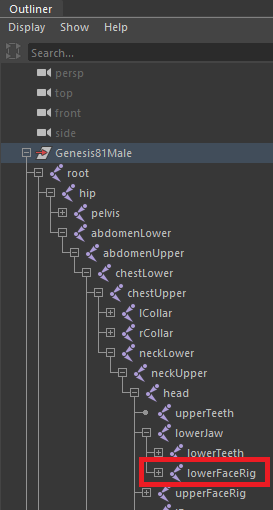
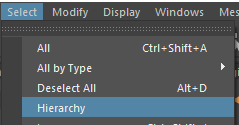
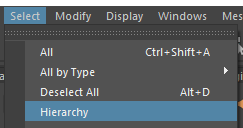
Go to Select -> Hierarchy and then hit the Delete key.
Repeat this for the upperFaceRig.
Setting up HumanIK
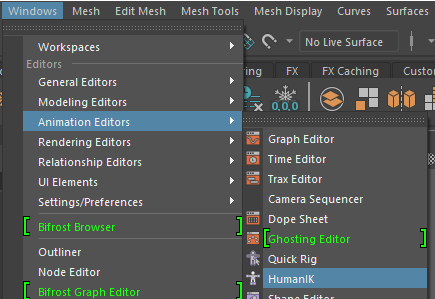
Open the HumanIK Pane by going to Windows -> Animation Editors -> HumanIK
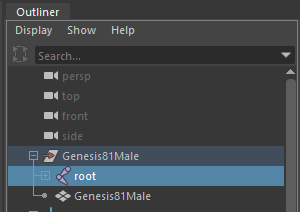
In the Outliner tab, select the root bone.
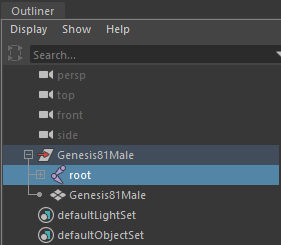
In the HumanIK Pane hit the Create Character Definition button.
Download the XML file here. You’ll need it for the next steps. It says Genesis3 in the name, but also works with Genesis8
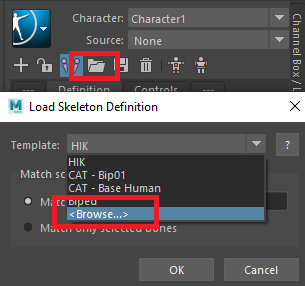
In the HumanIK Pane hit the folder Icon for Load Skeleton Definition and browse to the XML file you just downloaded.
Use these settings and hit OK
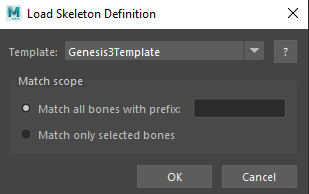
You’ll see some warning because the character isn’t properly T-Posed.
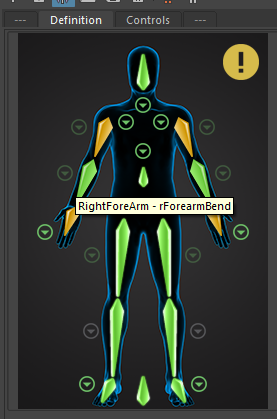
Depending on your rotation options in the Daz to Unreal plugin, you may need to switch which axis these rotations are happening on, but I paste this MEL code into the MEL box in the bottom left of Maya.
select -r lShldrBend ;
rotate -r -os -fo 45.1 0 0  ;
rotate -r -os -fo 0 0 10 ;
select -r rShldrBend ;
rotate -r -os -fo -45.1 0 0 ;
rotate -r -os -fo 0 0 -10  ;
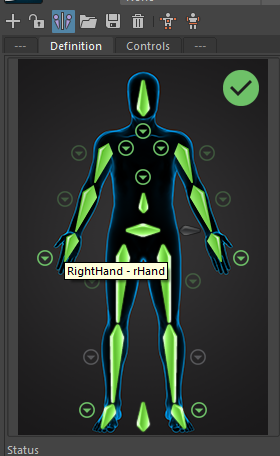
At this point the character should be in a T-Pose and everything should be green.
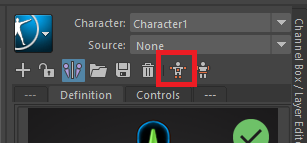
Next hit the Create Control Rig Button
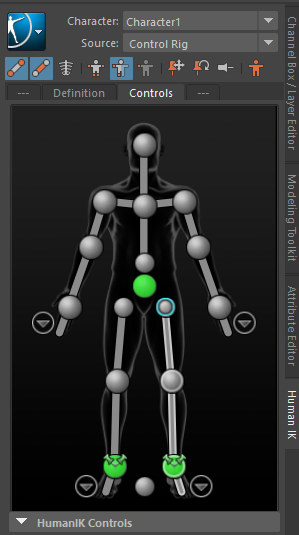
Your character now has a HumanIK Control rig. Select Controls in the HumanIK pane rather than bones to move your character.
SAVE THIS FILE! Rather than starting from scratch, you’ll start with a fresh copy of this file any time you make an animation.
Exporting Animation
Once you’ve made an animation in Maya, you want to export it back out.
Select the root bone again.
Choose Select -> Hierarchy to select the whole bone structure.
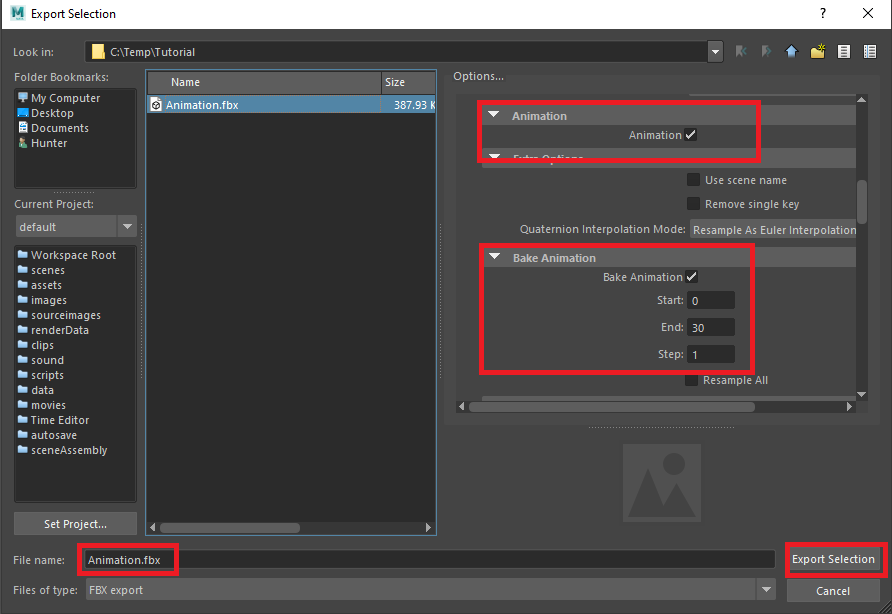
Got to File -> Export Selection

Make sure you’re exporting FBX and have Animation checked.
Check Bake Animation.
Give it a name and click Export Selection.
Importing Back Into Unreal
In the Content Browser click Add / Import and choose Import To

Browse to the FBX you exported out of Maya and choose it.
In the Dialog choose the Skeleton and hit Import.
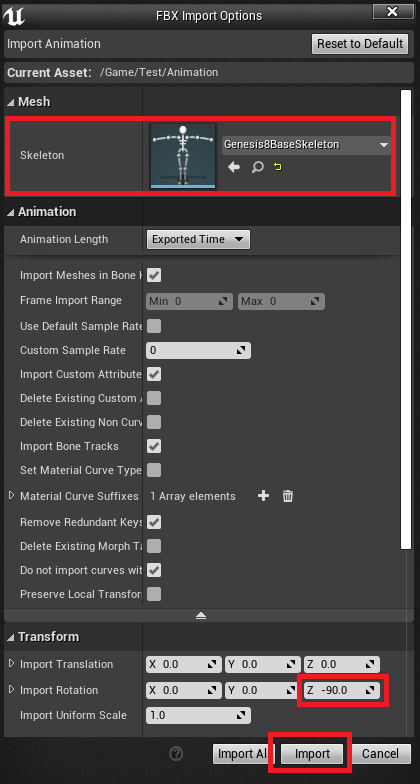
If the Animation comes in rotated wrong, you might need to try changing these settings.
Convert Scene, Force Front XAxis, and Import Rotation
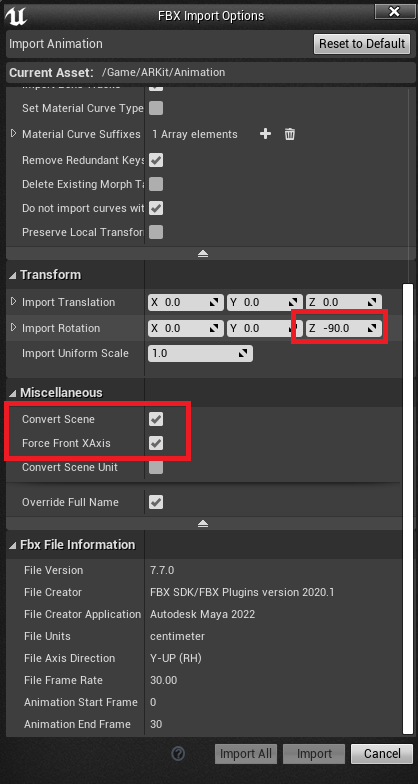
The face may come out stretched strange if you left the face rig in. If so, set the Retarget Source following the second half of these instructions. Most likely you want to set the retarget source either way because the results will be better when sharing the animation between characters.
Recent Comments