Daz to Unreal – MLDeformer Support
Parts of this technology are still beta or experimental in UE5.1, so keep in mind you’re going to run into bugs.
Here’s how to use the new MLDeformer support.
Transfer Your Character
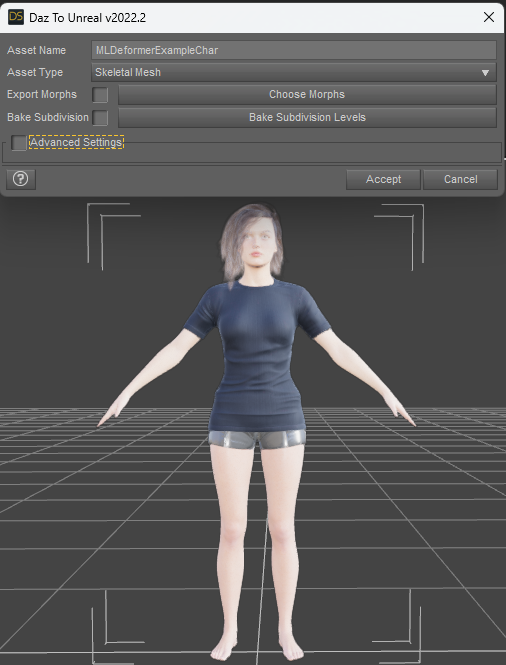
First you need to transfer your character. You do this the normal way, but don’t use AutoJCM. I haven’t tested this with morphs or subdivision yet. I’m going to transfer this character with very simple settings.
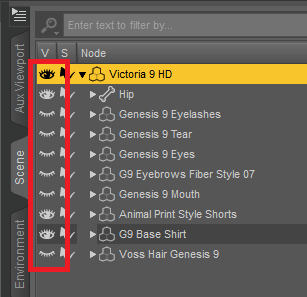
Hide Unneeded Figures
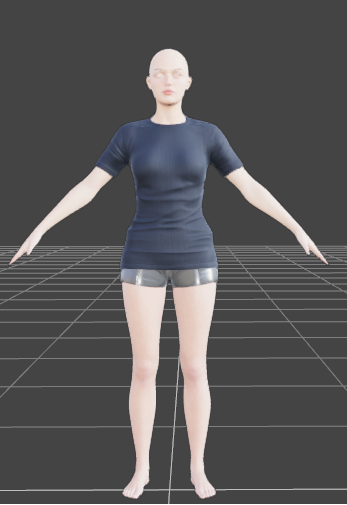
You probably don’t want to process the data for all parts of the model. In the Scene Outline hide the parts you don’t want to process. I’m going to turn off everything except for the base model and the clothing.
Note: I don’t like using hiding because it doesn’t feel obvious to me. I’ll probably make this an interface later.
Transfer the MLDeformer Data
Use File -> Send To -> Daz to Unreal
Asset Name should be unique because you’re going to need to find multiple assets with this name in dialogs later.
Asset Type is MLDeformer
Bake Subdivision isn’t tested, but if using Subdivision it will need to match the exported character.
Pose Count is how many poses will get randomly generated. I suggest using a small number for your first tests (maybe 100). For real usage Epic recommends 5,000 to 25,000. Exporting will take much longer and use a lot more space the larger this number is because that many poses need generated and the full geometry of the character needs exported for each pose.
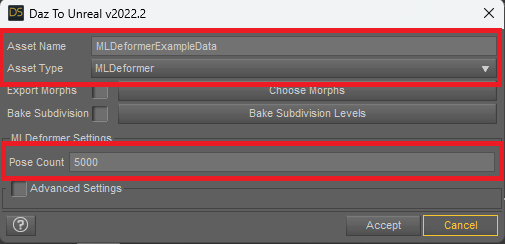
For reference this model with 5000 poses took about 20 minutes to export on a fast system and made a 7.2GB data file. Import into Unreal took another 10 minutes.
Setting Up the MLDeformer Asset
Currently the bridge generates the asset, but doesn’t set the settings on it. Hopefully I’ll be able to automate more of this part in the future.
Once the import is done an MLDeformer asset should be selected in the content browser. It will be named the Asset Name with an MLD_ prefix.
Open it.
Under Skeletal Mesh choose the character you exported in the beginning.
Under Anim Sequence choose the animation with the Asset Name you chose for the MLDeformer data. Important: Open the Anim Sequence and set the Retarget Source Asset to the Skeletal Mesh for the character.
Under Geometry Cache also choose the asset with the Asset Name.

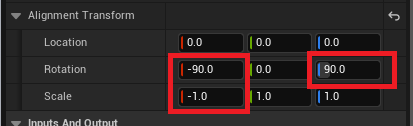
Set the Alignment Transform with these value. I should be able to export the data eventually so this step isn’t needed.
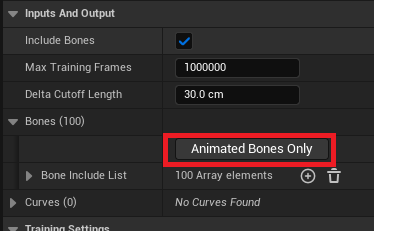
Under Bones hit the Animated Bones Only button
Now you should see something like this:
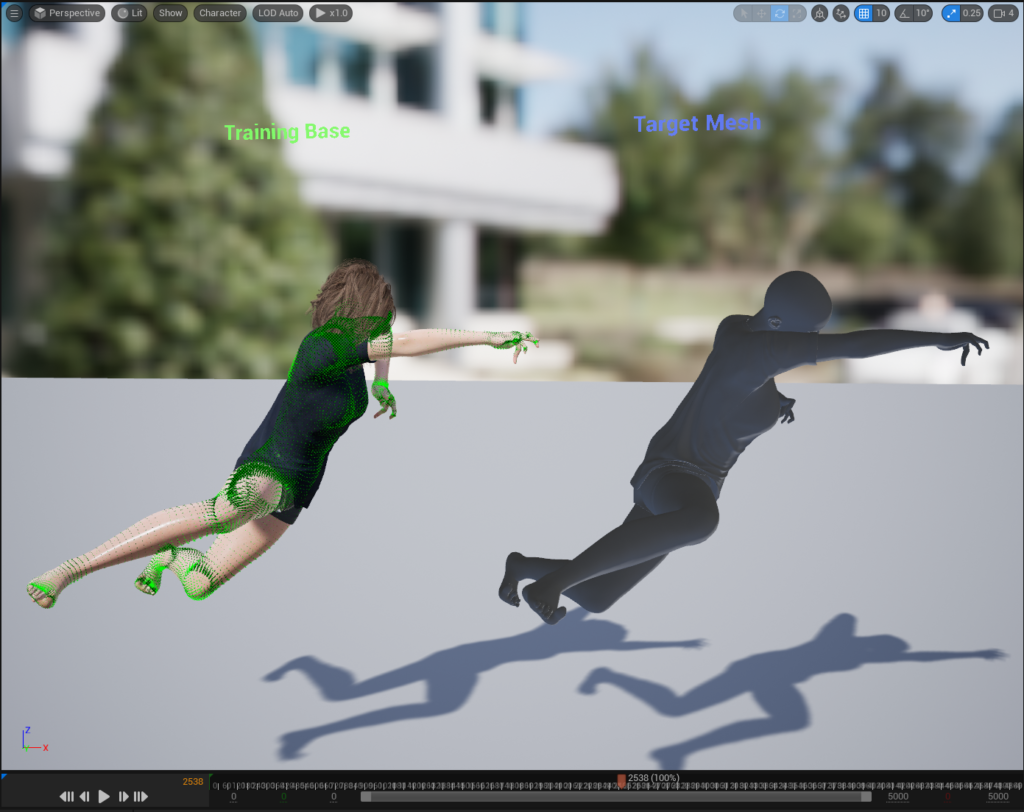
You can scrub through the animation to see all the random poses that were generated. The green lines show the difference in the vertex positions.
If it looks like the whole model is offset up or down (all vertical green lines), you probably missed setting the Retarget Source Asset on the animation.
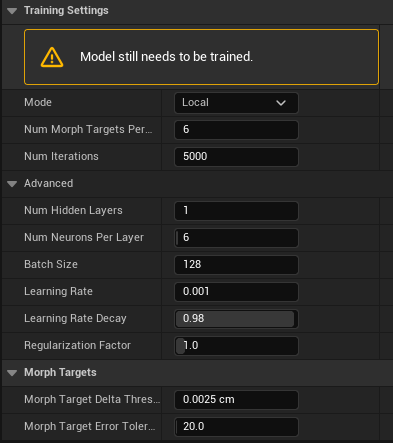
There are many Training Settings you can adjust. I don’t have recommendations yet.
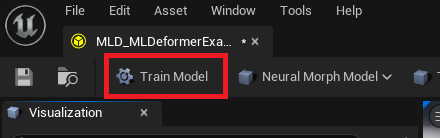
Next you’ll hit the Train Model button in the top left to start the training.
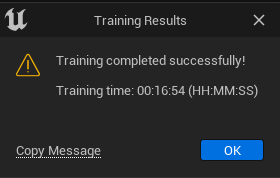
Training with these 5000 poses took 17 minutes on a 4090. A popup will tell you when it’s done.
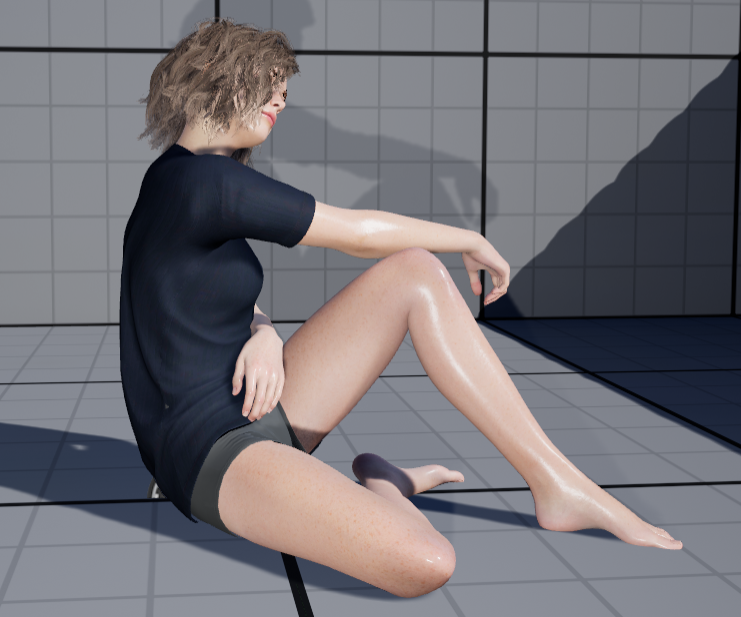
View the Results
Now you can change the asset to Testing mode to view the results.
Switch to Testing
Choose a Test Anim Sequence (I just used the random poses in this case)

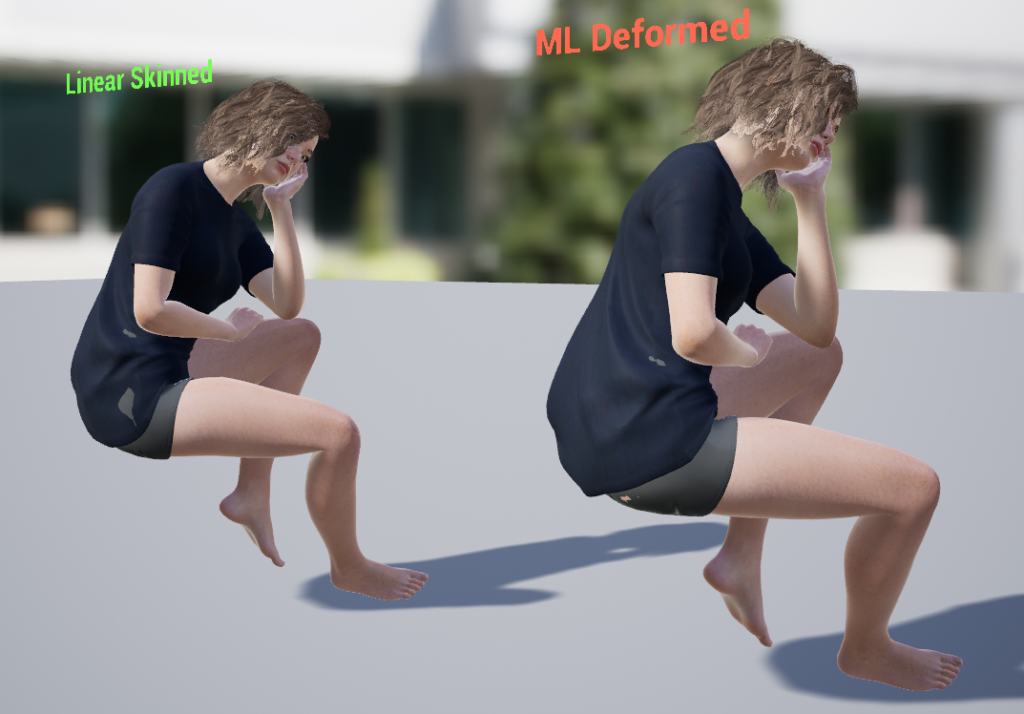
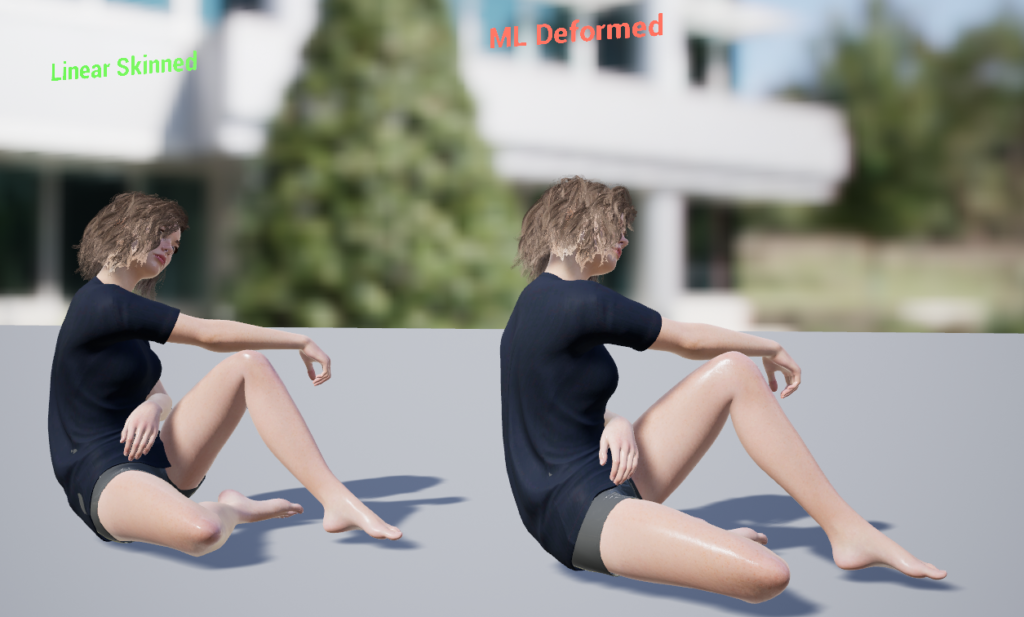
You’ll see that not only did it fix the Linear Blending on the knees and elbows, but it fixed the poke through on the shirt.
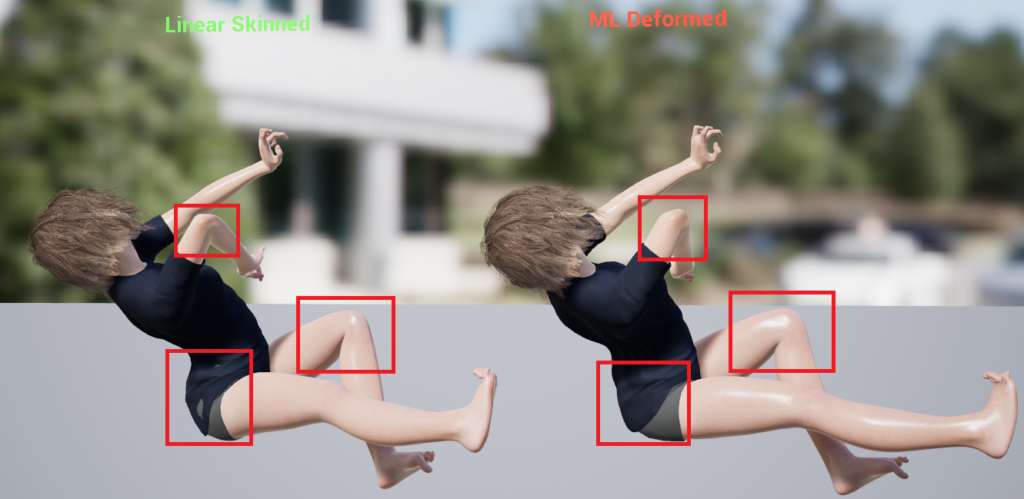
Results are going to vary a lot based on the quality of the training and keep in mind the system is still beta.
Here are a few poses transferred in an animation. They aren’t perfect, but it wasn’t trained on a full pose set, and I still need to figure out optimal settings.

Using is In Game
To use it in game create an Actor Blueprint.
In the Blueprint add a SkeletalMesh Component and a MLDeformer Component. Set the SkeletalMesh Component to use the Skeletal Mesh you trained the data on and set the MLDeformer Component to use the MLDeformer you created.
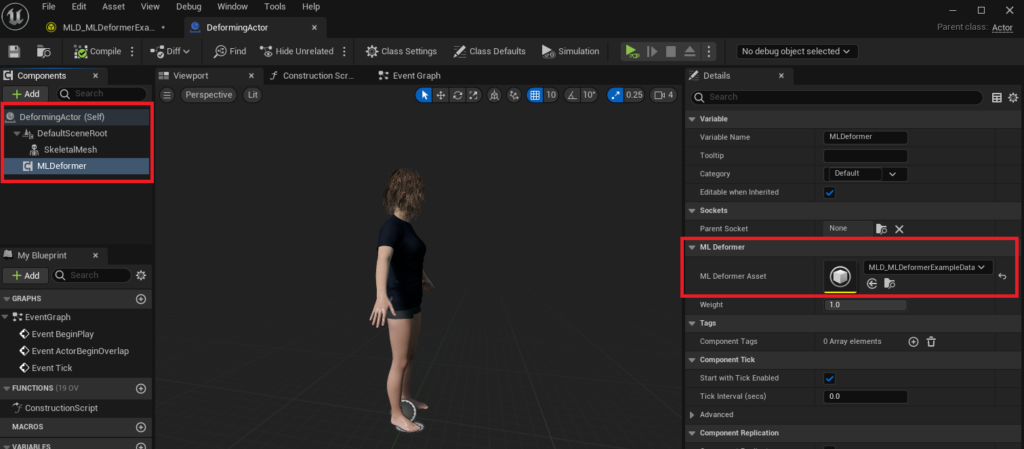
Now when that character animates the MLDeformer will be applied.
Recent Comments